The Colour LCD Shield provides an easy method of connecting the popular Nokia 6100 LCD to your Arduino. The board comes as shown with the 128×128 mini colour LCD, as well as a backlight driver circuit (boosts to 7V), and three momentary push-buttons (tied through a jumper to pins D3-5).
The Nokia 6100 LCD is controlled through a 9-bit SPI interface. The control pins of the LCD are connected to the hardware SPI pins of the Arduino (D13 -SCK, D11 – DIO), the CS pin is tied to D9 and the reset pin is connected to D8. Voltage from the ‘5V’ pin of the Arduino is boosted to 7V to power the LCD backlight.
Note: This shield uses the Philips PCF8833 controller.
Initially I had difficulty getting this up and running, reading up on the LCD I discovered that in fact there are different chips used on the LCD. My LCD uses the Philips PCF8833 controller and not the Epson controller. One to look out for there.
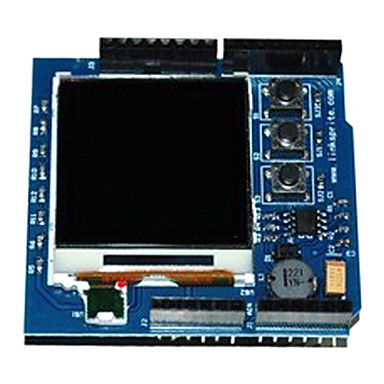 nokia 6100 lcd shield