Home LCD Projects LCD4884 and DHT11 sensor

LCD4884 and DHT11 sensor

by shedboy71

In this example we connect a DHT11 sensor our Arduino, again we will display the temperature and this time the humidity as well on our LCD4884 shield. In this example we connected the data pin of the DHT11 to Pin 9. VCC and GND were derived from the shield.

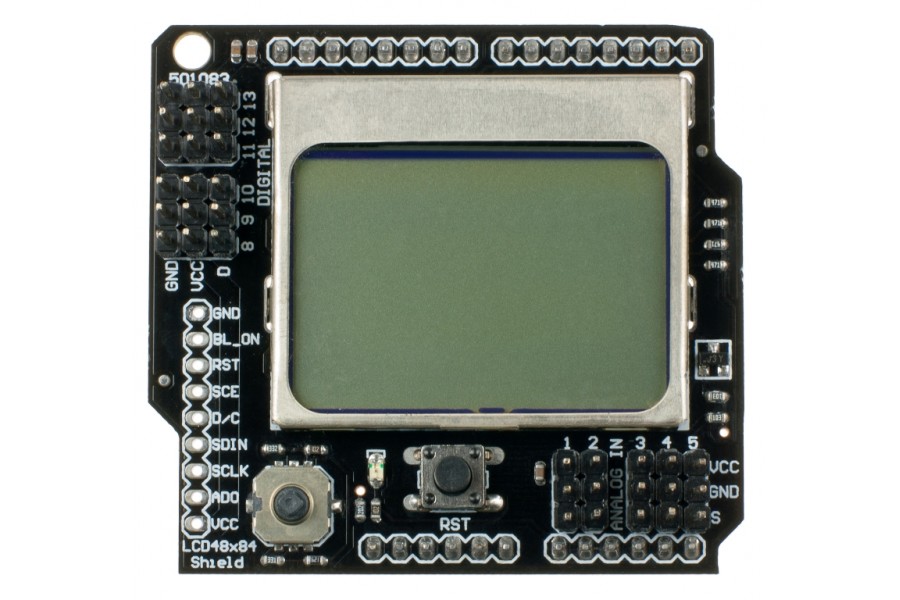
Here’s a picture of the shield used

lcd4884 shield

lcd4884 shield

and here is the DHT11 breakout board, this simplifies things as it contains the necessary resistor already fitted otherwise you need to fit a 4k7 between Vcc and the data pin. You can also plug this into either a breadboard or simple connect dupont cables from the shield to the breakout
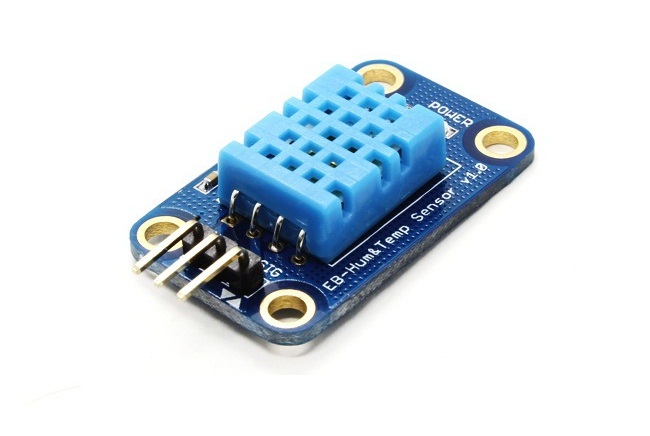
 

dht11 breakout dht11 breakout

The DHT11 digital temperature and humidity sensor is a composite Sensor contains a calibrated digital signal output of the temperature and humidity. Application of a dedicated digital modules collection technology and the temperature and humidity sensing technology, to ensure that the product has high reliability and excellent long-term stability. The sensor includes a resistive sense of wet components and an NTC temperature measurement devices, and connected with a high-performance 8-bit microcontroller.

Specs

Relative humidity
Resolution: 16Bit
Repeatability: ±1% RH
Accuracy: At 25℃ ±5% RH
Interchangeability: fully interchangeable
Response time: 1 / e (63%) of 25℃ 6s
1m / s air 6s
Hysteresis: <± 0.3% RH
Long-term stability: <± 0.5% RH / yr in

Temperature
Resolution: 16Bit
Repeatability: ±0.2
Range: At 25 ±2
Response time: 1 / e (63%) 10S

Electrical Characteristics
Power supply: DC 3.5~5.5V
Supply Current: measurement 0.3mA standby 60μ A
Sampling period: more than 2 seconds

Code

You’ll need the LCD4884 library and the you will need the DHT11 library from the DHT library.

Download, extract and copy this to your Arduino libraries folder location


[codesyntax lang=”cpp”]

//required header files
#include <Wire.h>
#include "LCD4884.h"
#include <dht11.h>

//DHT11 sensor settings
dht11 DHT;
#define DHT11_PIN 9
int check;

//variables for readings from sensor
float tempC;
char tempstringC[10];
float humid;
char tempHumid[10];

void setup()
{
lcd.LCD_init();
lcd.LCD_clear();
init_MENU();
//debugging functionality
Serial.begin(9600);
Serial.print("DHT11 STATUS – \t");
}

void init_MENU(void)
{
//clear LCD and display initial display
lcd.LCD_clear();
lcd.LCD_write_string(10, 1, "Temperature", MENU_HIGHLIGHT );
lcd.LCD_write_string(10, 3, "Humidity", MENU_HIGHLIGHT );
}

void display_READINGS(void)
{
//get the temperature and humidity readings
tempC=DHT.temperature;
itoa(tempC,tempstringC,10);
humid=DHT.humidity;
itoa(humid,tempHumid,10);
//display values on LCD
lcd.LCD_write_string(10, 2, tempstringC, MENU_NORMAL);
lcd.LCD_write_string(22, 2, " (c)", MENU_NORMAL);
lcd.LCD_write_string(10, 4, tempHumid, MENU_NORMAL);
lcd.LCD_write_string(22, 4, " %", MENU_NORMAL);
delay(2000);
}

void loop()
{
//read and convert values
check = DHT.read(DHT11_PIN);
//check status - this is useful for debugging the sensor
switch (check)
{
case DHTLIB_OK:
Serial.print("OK\n");
display_READINGS();
break;
case DHTLIB_ERROR_CHECKSUM:
Serial.print("Checksum error\n");
lcd.LCD_clear();
lcd.LCD_write_string(10, 1, "Checksum error", MENU_HIGHLIGHT );
break;
case DHTLIB_ERROR_TIMEOUT:
Serial.print("Timeout error\n");
lcd.LCD_clear();
lcd.LCD_write_string(10, 1, "Timeout error", MENU_HIGHLIGHT );
break;
default:
Serial.print("Unknown error\n");
lcd.LCD_clear();
lcd.LCD_write_string(10, 1, "Unknown error", MENU_HIGHLIGHT );
break;
}

}

[/codesyntax]


Links

DFRobot – Graphic LCD4884 Shield for (For Arduino)

DHT11 Digital Temperature and Humidity Sensor Module For Arduino

You may also like

This website uses cookies to improve your experience. We'll assume you're ok with this, but you can opt-out if you wish. Accept Read More